Duct Tape Wallet
Duct Tape Wallet
Topic: Building Wealth
Empowerment Video: Building Wealth
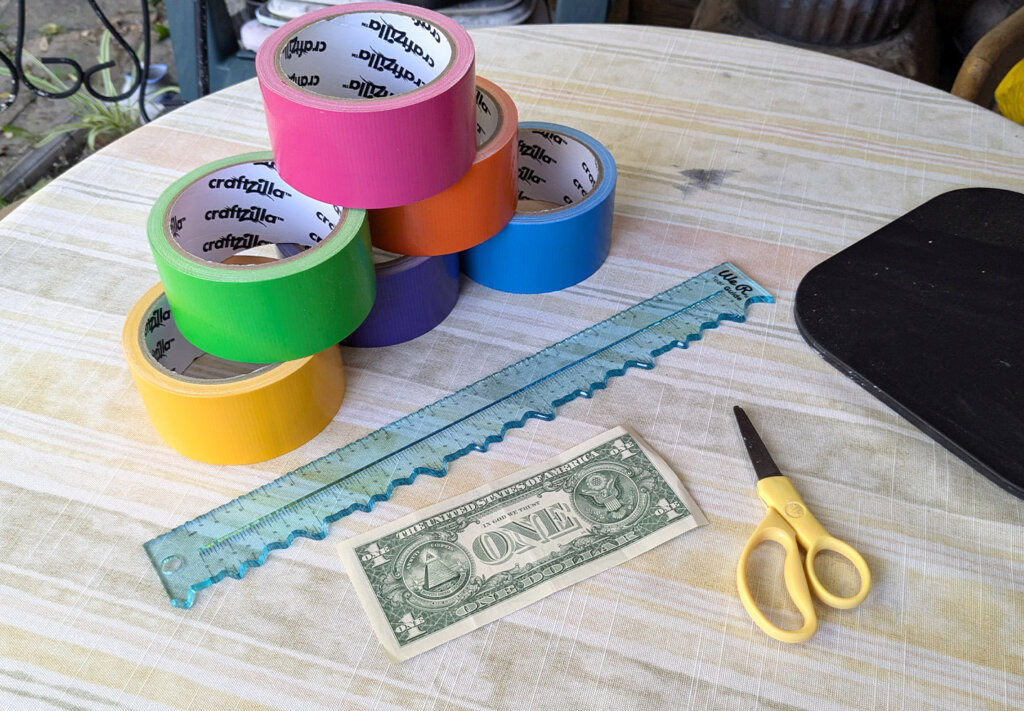
Basic Supplies:
- Ruler, one per student
- Duct tape, a variety of colors if possible
- Scissors, one per student
- A dollar bill, for measuring purposes
Video Discussion:
Read through the list below, one item at a time. Ask students to raise their hand if the item is something they have or have done.
- I have money in my pocket or backpack.
- I spent money today.
- I have a job. (Babysitting etc. counts!)
- I have visited a bank.
- I have a bank account.
- I have talked with my parents or another adult about money.
Explain that money is part of everyday life no matter who you are, what kind of job you have, or where you live. And learning to control your money is one of the most powerful steps you can take to lead a secure life.
After watching the video Building Wealth, ask your students the following questions:
- What do you want your financial future to look like? What do you need to do to get there? How will being financially literate help you achieve your goal?
- Financial stability is a goal many people have. What do you think financial stability looks like? How does someone know if they are financially stable?
- We all sometimes buy things we don’t need. And having the money to purchase things that we “want” is a luxury. What are some examples of things that you want? Have you recently purchased anything that is a “want” instead of a “need”?
Activity Instructions:
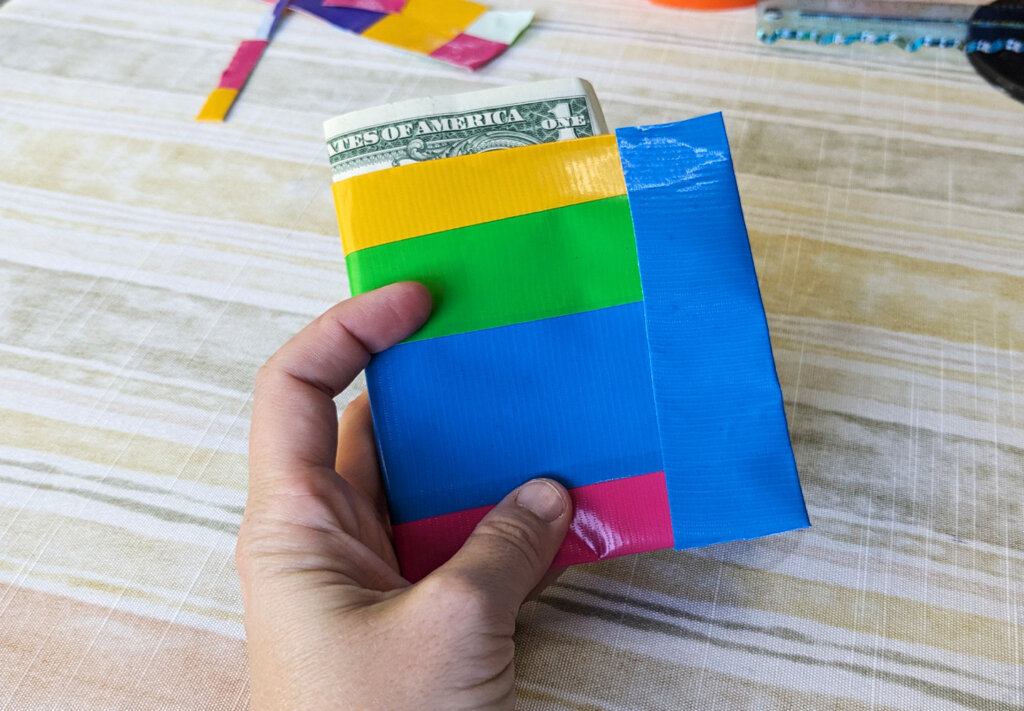
Students will be crafting a duct tape wallet.
Building wealth starts with small steps, like keeping your money safe and organized. Having a special place for your money can help you keep track of your financial assets and make smart decisions.
In this activity, you will be creating a duct tape wallet. As you design your wallet, think about how having a place to keep your money can help you stay organized and reach your financial goals.
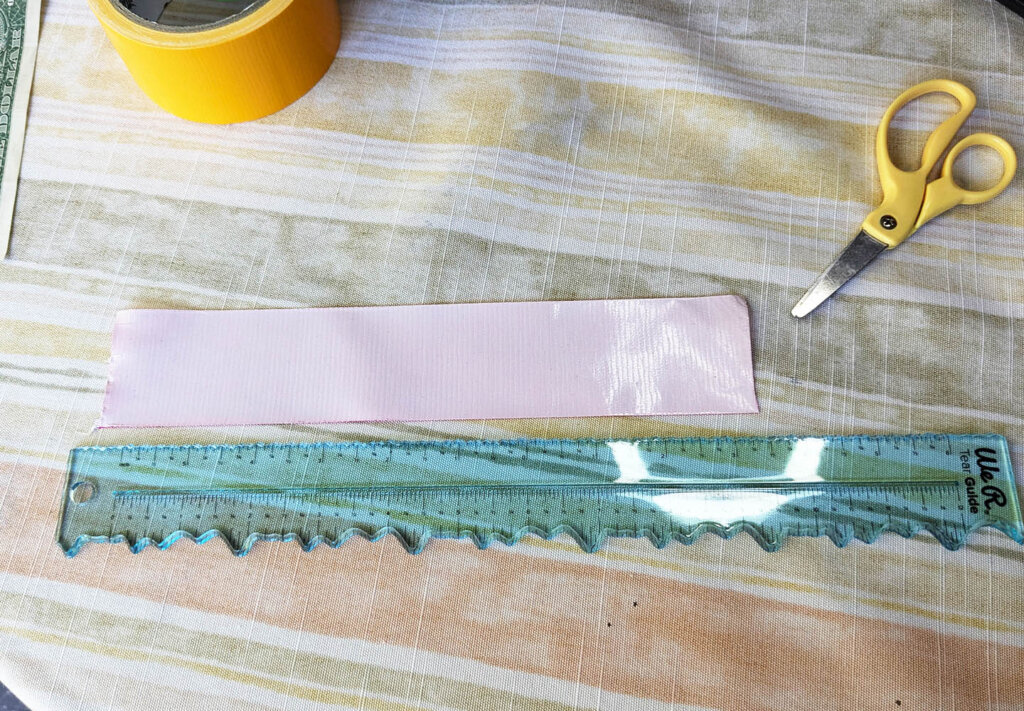
- Get a roll of duct tape, scissors, and a ruler.
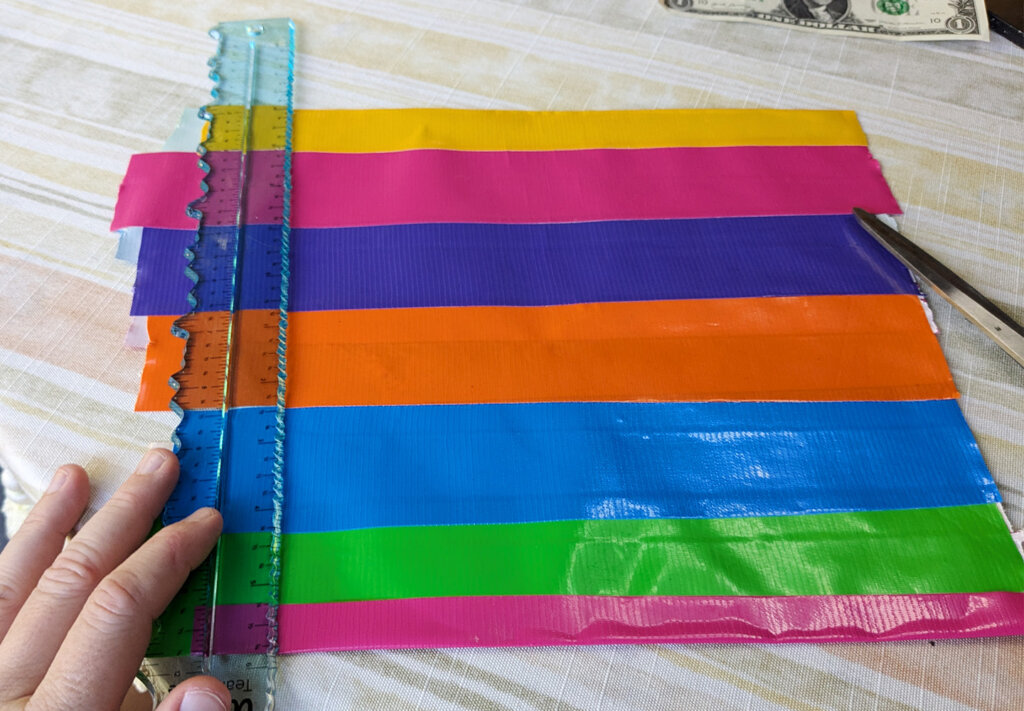
- Unroll the duct tape and cut one 9-inch piece. Lay it sticky-side up on your desk.
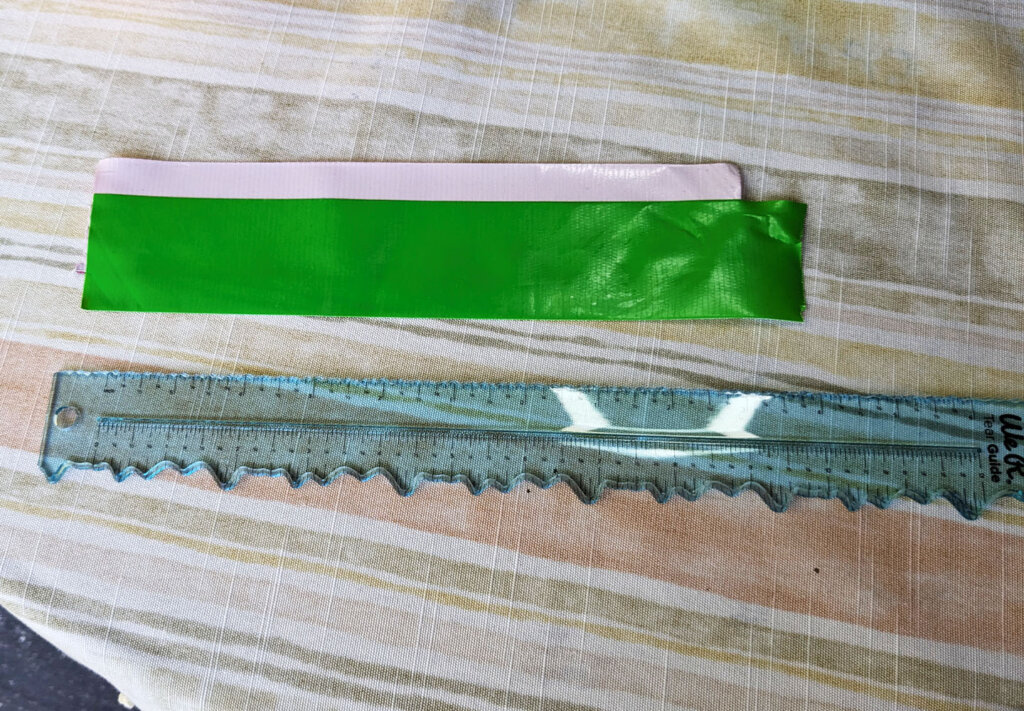
- Cut a second piece of 9-inch duct tape. Lay it sticky-side down on top of the first piece. Place it lengthwise about halfway up. At this point, you will have secured the first piece of duct tape to your desk using the second piece of duct tape.
- Fold the sticky piece of the first strip over the top of the second trip to make the edge of your wallet. Press firmly to seal the strip.
- Peel the entire strip up and flip it over.
- Cut another 9-inch piece of duct tape. Lay this new piece over the sticky part of your old strip. Place it lengthwise about halfway up. Like before, half the strip will hang off and stick to your desk.
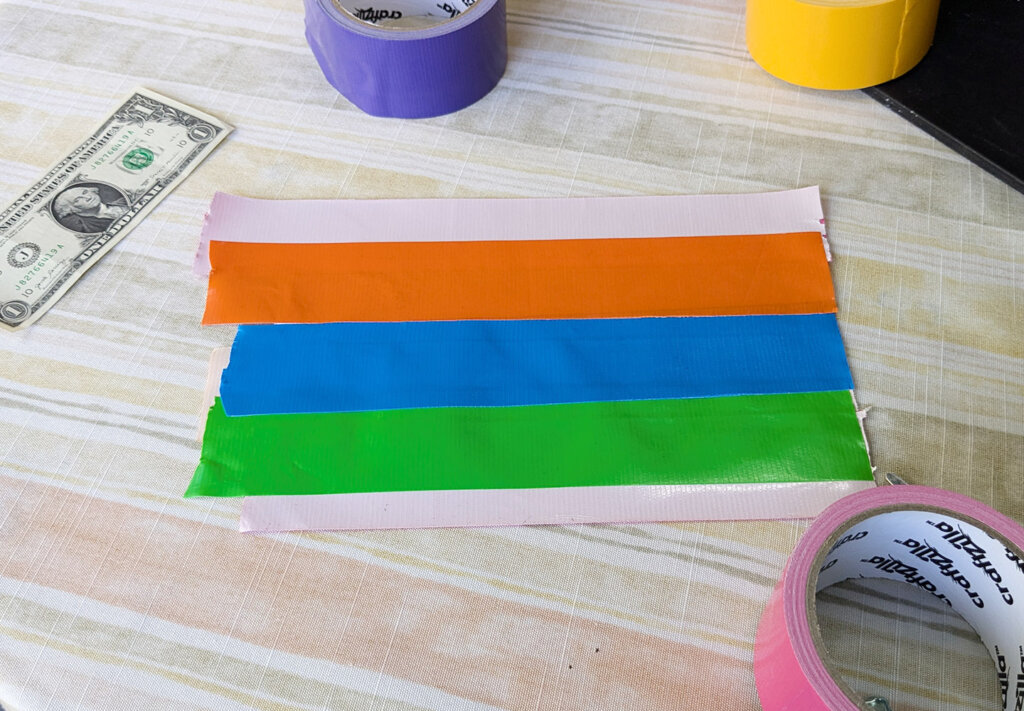
- Repeat steps 5-6 to increase the size of your duct tape sheet until it is about 9 inches in length. As you are placing each new piece of duct tape, ensure that you are completely covering the sticky part of the piece of tape underneath. You are basically creating a sheet of duct tape.
- Once you have a sheet of duct tape about 9 inches in length, fold the last sticky piece of duct tape over the edge to seal the sheet. Your sheet should be approximately 9 inches by 9 inches with no sticky parts remaining.
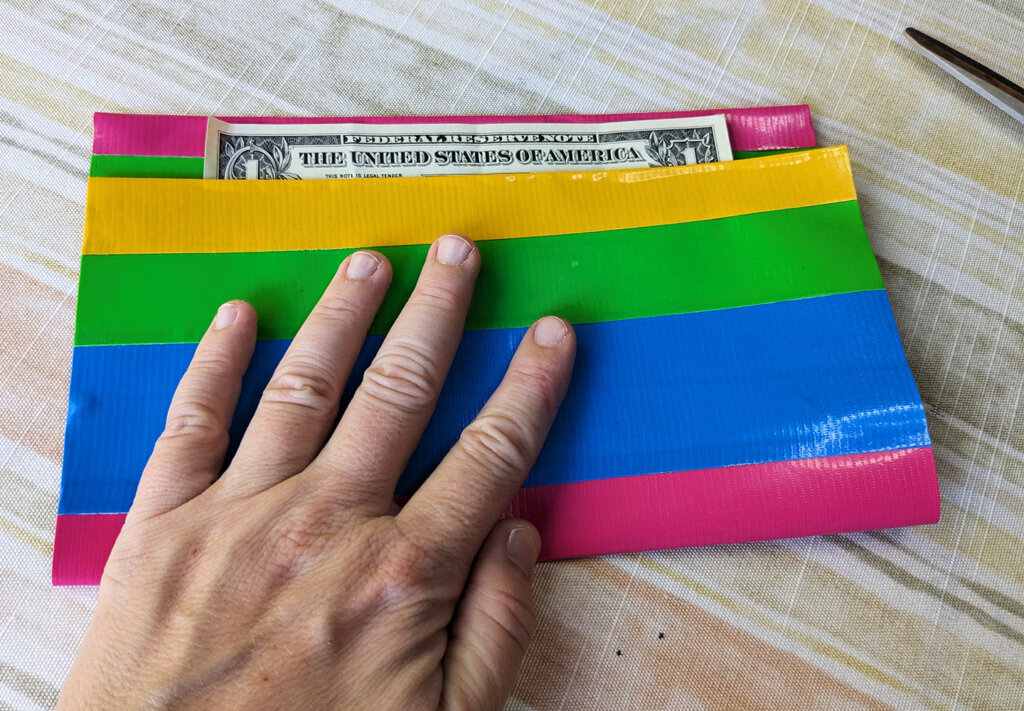
- Use a ruler and scissors to trim the rough-cut edges of your wallet so that they are straight. If you are planning to carry US money, you’ll want to trim a bit off both sides to bring the total length to about 8.5 inches.
- Fold your wallet lengthwise (the same direction as the lines of tape) so that the bottom edge sits approximately 0.5 inches from the top edge. Practice placing a dollar bill inside the fold to ensure it fits the way you want. If the pocket needs to be bigger or smaller, adjust the fold. Once you have it perfect, make a crease with your fingernail so the fold stays in place.
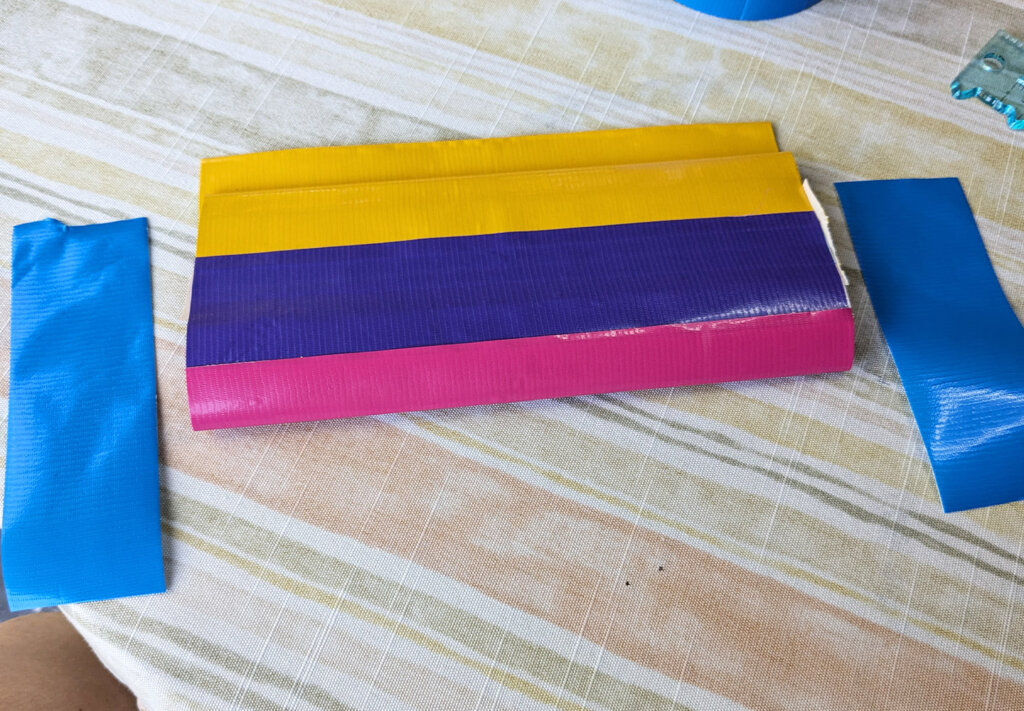
- Cut two pieces of duct tape the size of the pocket sides you just created. Tape up each pocket side, folding the duct tape over the cut edge and around the back. Press it firmly.
- Fold your wallet in half the other direction and make a crease with your fingernail.
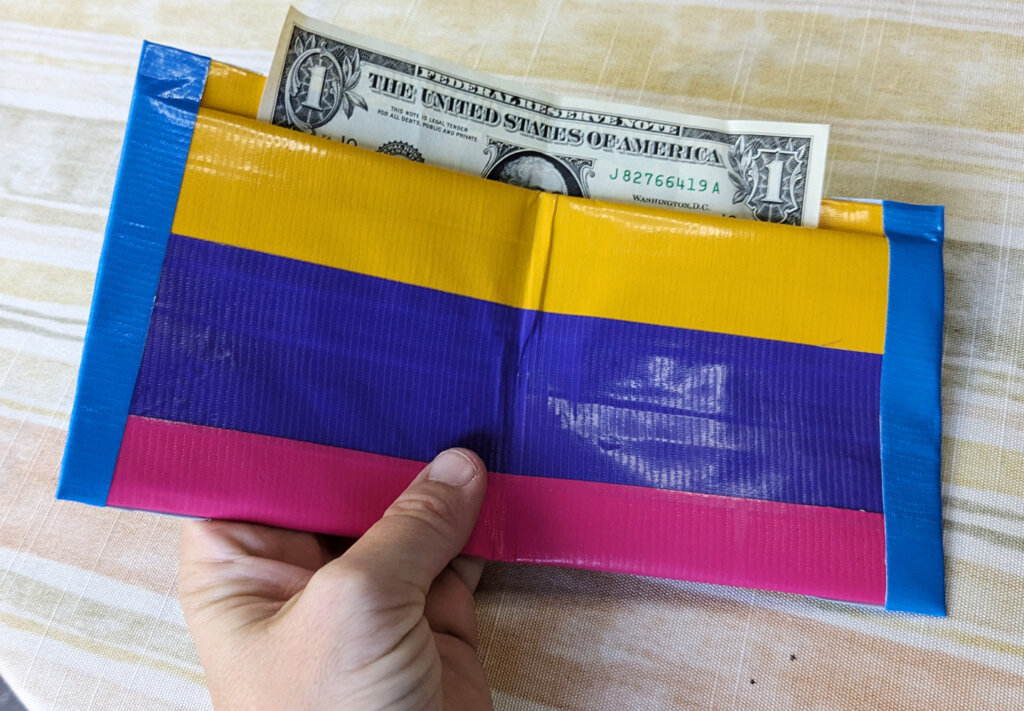
- Transfer any money you’re carrying or other important items into your new wallet. Use your new wallet to keep your money organized and remind you to make thoughtful choices as you work towards your financial goals.